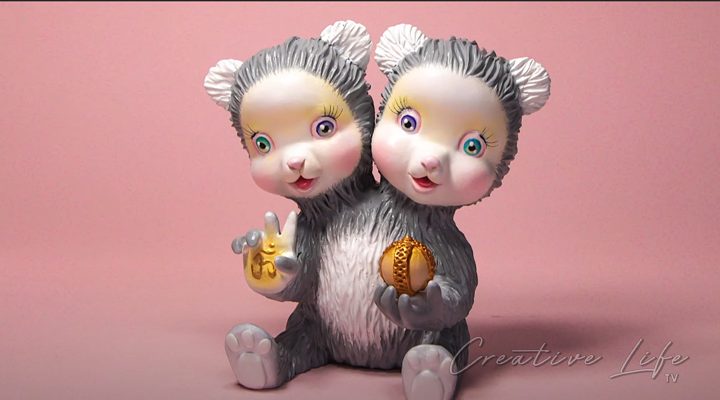
Learn how to sculpt a bear face with this fun and easy tutorial. This is a tutorial that beginners can use in getting started with creative sculpting in clay.
Materials:
- Aluminum Foil
- Bake & Bond
- Clay
- Sculpting Tools
- Paint Brush
- Scissors
STEP
1
aluminum foil

Form a ball using aluminum foil. Use a hard object to dent in the middle of face.
STEP
2
cover with clay

Use a bake and bond to attach the clay. Cover it until the foil is covered with clay.
STEP
3
head shape

Shape the head using the palm of your hands.
STEP
4
Nose shaping

Take two balls and attach to the bottom. Then add another on top of it then blend it.
STEP
5
attach to the top

Take a small piece of clay and flatten it out. Attach to the bottom and blend it in.
STEP
6
now the tongue

Make a small tongue and attach it to the mouth. Push it using a tool. Don’t forget to make an indent on the tongue.
STEP
7
then the cheeks

Take two clay and attach it to the cheeks of the bear. Blend it in.
STEP
8
add the eyes

Measure out where you would like the eyes to go and start tracing it.
STEP
9
pre-baking

Pre-bake for 10 minutes according to package temperature.
STEP
10
where’s the ears?

Check where the ears will go and attach it using bake and bond. Blend the edges.
STEP
11
hair lines

Make the hair lines using a flat tool and make sure to add details to it.
STEP
12
pre-baking

Pre-bake for 10 minutes according to package temperature.
STEP
13
pre-baking

Roll long pieces of clay and attach it to the head using bake and bond. This will serve as the hair.
STEP
14
soften the hair

Repeat until the head is covered with the hair. Add on some clay softener.
STEP
15
final baking

Final Bake according to package directions.

