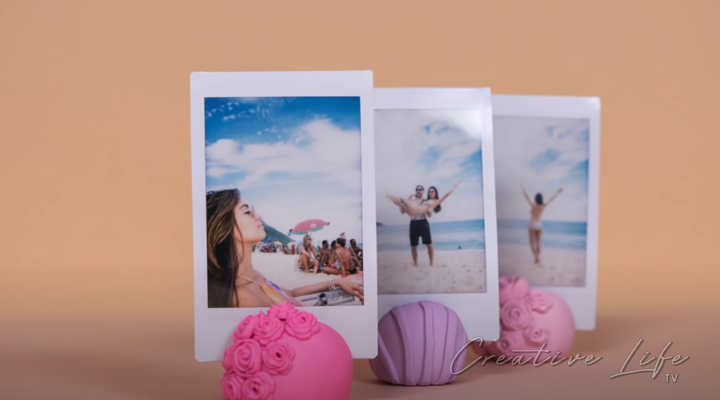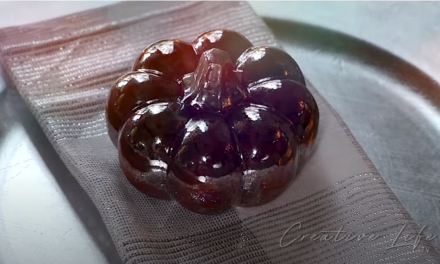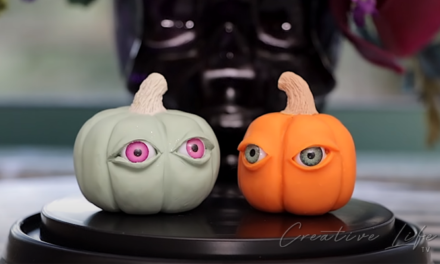
In this tutorial, we will show you how to make your very own clay photo holder. These are great for anyone looking for a quick project or for a fun gift for loved ones. Display memories where you can see them daily!!
Materials:
- Clay
- Photo
- Molds
- Bake and Bond
- Blade
- Scuplting Tools
STEP
1
start with dome shape

Shape the clay into dome shape and slice the middle.
STEP
2
does it fit?

Check to see if the photo fits.
STEP
3
mold the clay

Add the clay to the molds and remove the excess.
STEP
4
attach the flower

Gently remove them from the molds and attach them using bake and bond.
STEP
5
baking time

Bake according to package directions.
STEP
6
Second version

Use another color of clay. Add bake and bond and attach flowers. Use a tool to add some details to the flower clay.
STEP
7
third version

Cut clay slices. Place the sliced clay on the holder vertically. Don’t forget to remove the excess.
STEP
8
finishing product

Gently blend in the edges and cut the middle part again.Bake according to the package direction.

