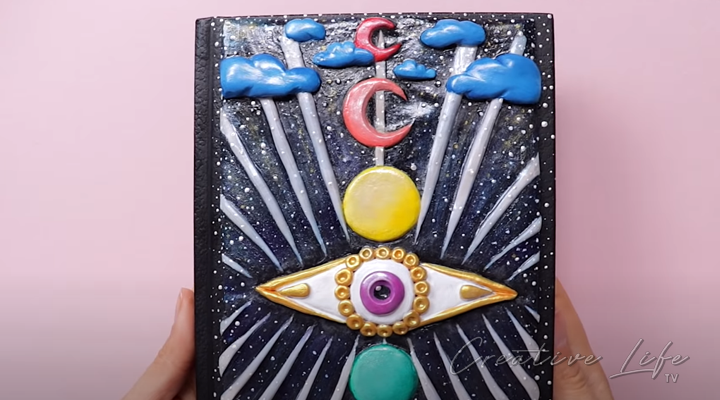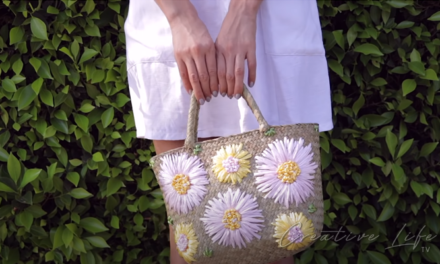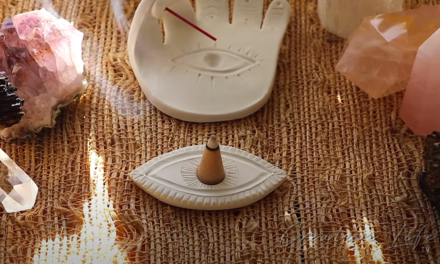
We’ll show you how to create your own custom DIY journal using Polymer clay. Learn just how to sculpt your own creation using specific sculpey clay sculpting techniques. The more unique and to your style, the more amazing your journal will become!
Materials:
- Journal
- Clay
- Blade
- Paper
- Bake & Bond
- Cookie-cutter
- Spoolie Brush/Toothbrush
- Soft Pastel
- Paintbrush
- E6000 Glue
- Clips
STEP
1
layout the paper

Cut a piece of paper the same size as the notebook.
STEP
2
sheet of clay

Cut out a sheet of paper the size of clay piece.
STEP
3
another layer

Add bake & bond sculpey, then add another layer of clay.
STEP
4
eye shape

Trace out an eye-shape and attach it to the sheet using bake and bond.
STEP
5
make some circles

Cut circles out using the cookie cutters.
STEP
6
moon shape

Cut out moon shape using cookie cutter.
STEP
7
attach the moons together

Attach the circle and moon shape clay using bake and bond.
STEP
8
add texture

Add texture to the clay using a brush.
STEP
9
optional step

Brush soft pastel to the moon shapes.
STEP
10
clay division

For the next version, get a paper and fold it in half. Cut out a half eye shape.
STEP
11
more details

Add more details to the sheet of clay.
STEP
12
baking time

Pre-bake form 10 minutes. After baking add more details to the eyeshape.
STEP
13
add the rays

Roll out some clay and add the rays around the eye shape.
STEP
14
cloud shape

Make the clouds by making an egg shape and sculpt it with a tool of your choosing.
STEP
15
final bake!

Final bake according to package directions.
STEP
16
paint time!

For the fun part! Paint!
STEP
17
soft pastel

Add soft pastel for a star galaxy effect then lightly dust the clouds with white pastel to highlight the clouds.
STEP
18
attach everything

Add E6000 Glue to the back of the clay.
STEP
19
secure the glue

Add clips to ensure the clay stays glued down.

